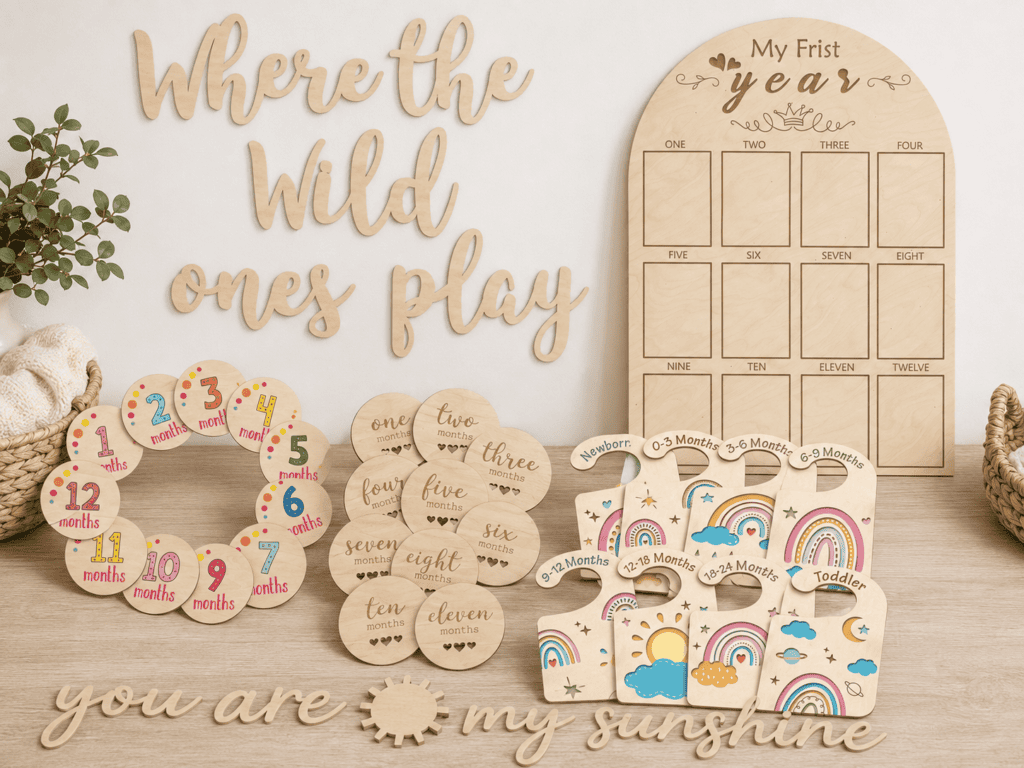
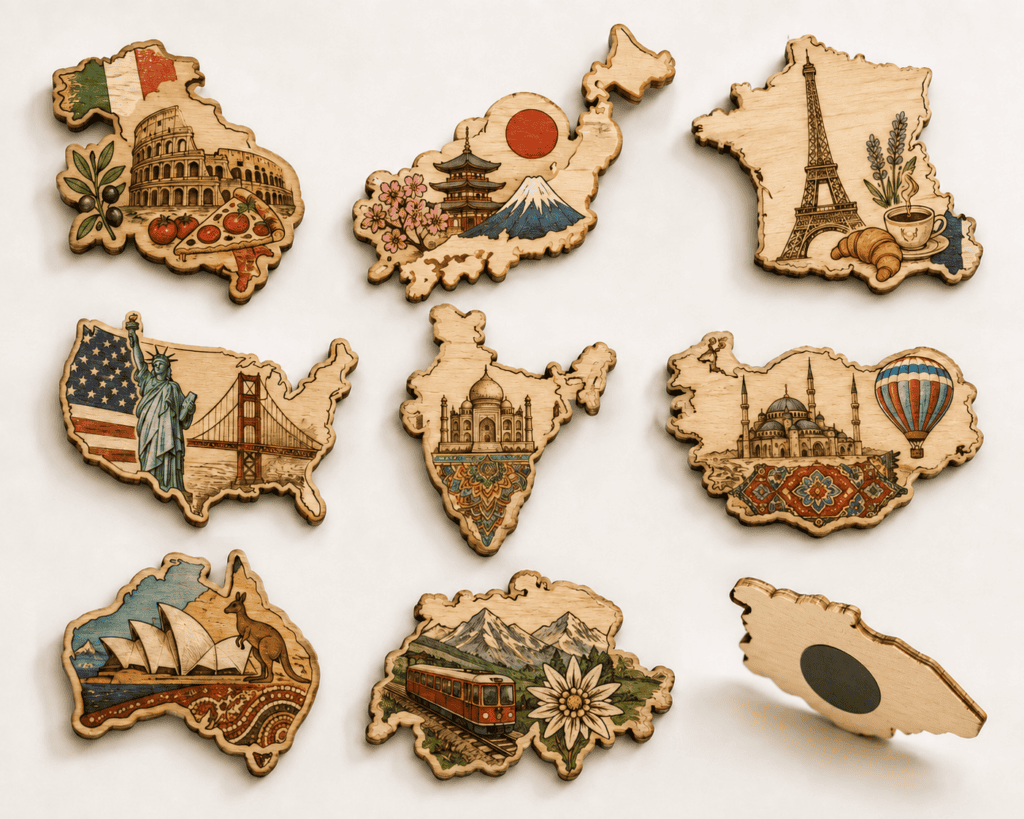
L'un des moyens les plus efficaces d'améliorer l'aspect et la valeur de votre artisanat en bois est de choisir la bonne finition de peinture ! Que vous souhaitiez créer un décor à vendre lors d'expositions d'artisanat ou apporter des touches artisanales à votre maison, la finition que vous appliquez peut complètement changer l'aspect de votre projet et le rendre plus vendable. Ces techniques de peinture pour l'artisanat en bois sont simples, s'adressent aux débutants et ne nécessitent que des fournitures de base que vous pouvez trouver dans votre quincaillerie locale.
Un simple panneau en bois, Un ornement, un présentoir ou une étiquette cadeau peut sembler banal dans sa forme inachevée. Mais avec la bonne technique de peinture, il peut devenir un élément de décoration chaleureux, un produit saisonnier, un article de marque ou un élément d'une collection de cadeaux personnalisés.
Dans ce guide, nous verrons comment peindre des objets en bois étape par étape, quels types de peinture et de finition conviennent le mieux et quelles sont les erreurs à éviter.
L'importance de la peinture des objets artisanaux en bois
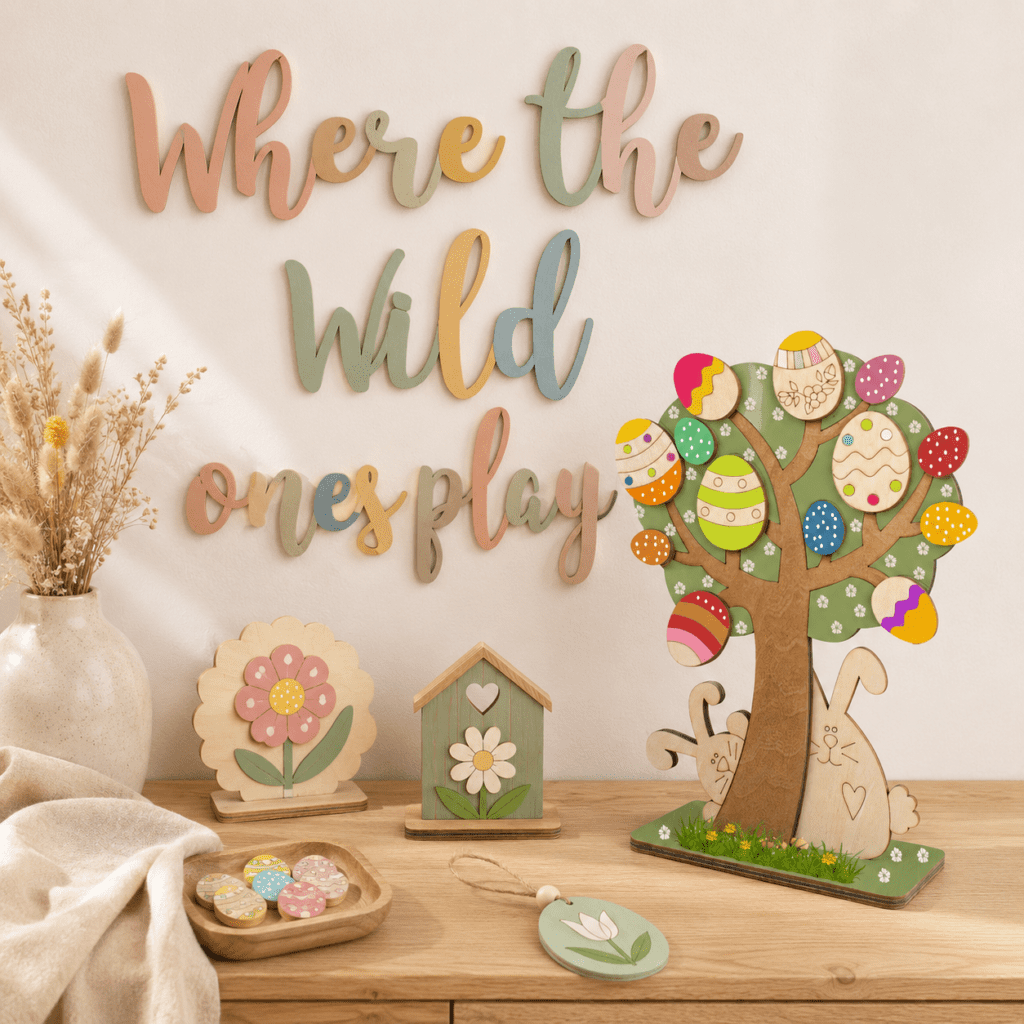
Le bois est naturellement chaud et beau, mais une finition de surface appropriée peut rendre un produit en bois plus adapté à différents marchés et styles de conception. Une finition en bois naturel peut convenir à un décor rustique, tandis que le blanc, les couleurs pastel ou saisonnières conviennent mieux à un décor de chambre d'enfant, à des décorations de mariage, à des ornements de vacances ou à des articles-cadeaux.
Pour l'artisanat en bois, la peinture peut permettre d'atteindre plusieurs objectifs importants :
- Améliorer l'aspect visuel du produit
- Correspondre à un style de décoration, de vacances ou de marque spécifique
- Protège la surface du bois contre les taches, les rayures et l'humidité.
- Augmenter la valeur perçue du produit
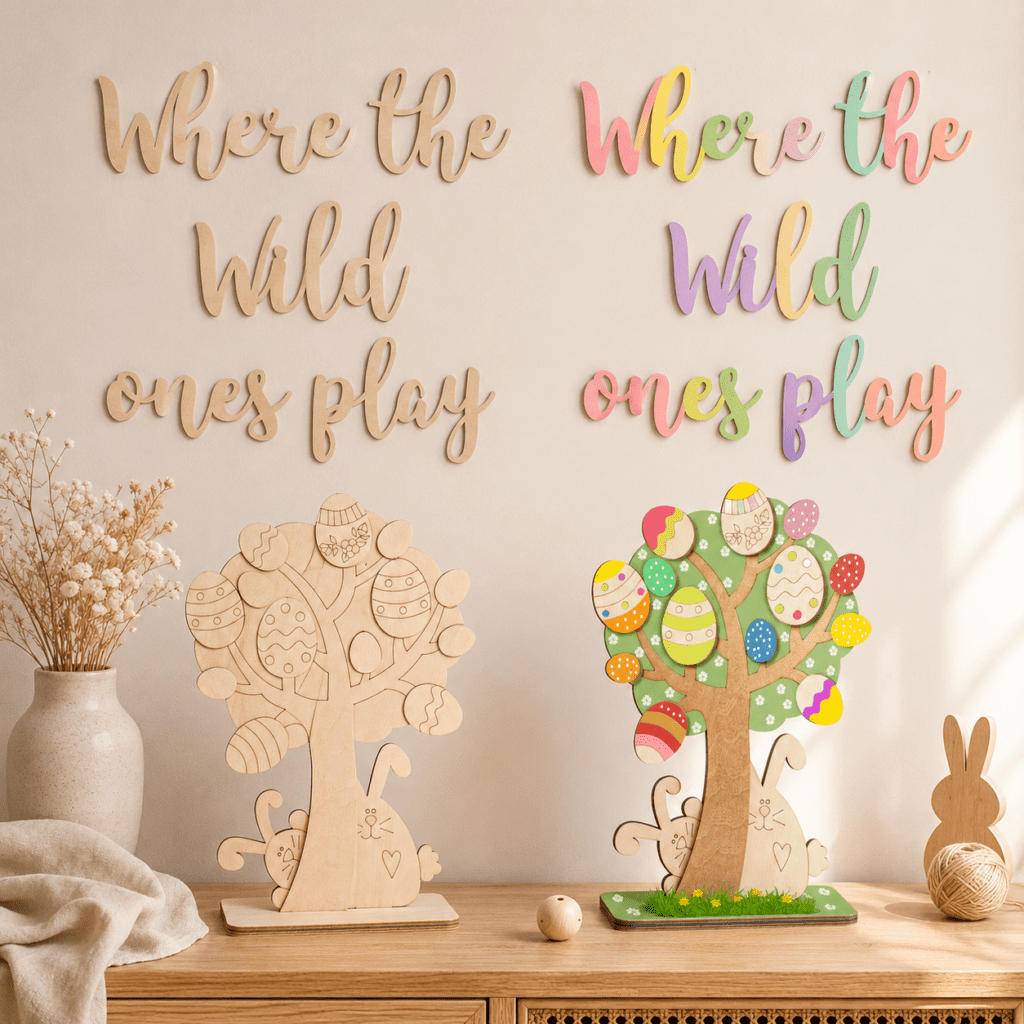
Quels types de peinture peut-on utiliser sur les objets en bois ?
Des peintures différentes créent des effets différents. Le meilleur choix dépend du type de produit, du scénario d'utilisation, du marché cible et du style souhaité.
Peinture acrylique
La peinture acrylique est l'un des choix les plus courants pour les petits travaux manuels en bois. Elle sèche relativement vite, se décline en de nombreuses couleurs et convient parfaitement aux produits décoratifs.
Il convient pour :
- Ornements en bois
- Enseignes murales en bois
- Etiquettes cadeaux en bois
- Décoration de la chambre d'enfant
- Décorations de vacances
- Kits de bricolage
- Petites plaques en bois peintes
La peinture acrylique est souvent utilisée lorsque les acheteurs ont besoin de dessins colorés, de motifs simples ou d'effets décoratifs doux. Pour les produits artisanaux en bois de petite et moyenne taille, elle offre un bon équilibre entre l'apparence, le coût et la flexibilité de production.
Teinture pour bois
La lasure est différente d'une peinture normale. Au lieu de recouvrir entièrement la surface du bois, elle pénètre dans le bois et laisse apparaître les veines naturelles.
Cette finition convient aux produits pour lesquels les acheteurs souhaitent un aspect naturel, rustique, vintage ou haut de gamme.
Les applications les plus courantes sont les suivantes
- Plateaux en bois
- Présentoirs en bois
- Décor mural en bois
- Articles de rangement en bois
- Signalisation en bois
- Produits de décoration intérieure
- Accessoires pour la vente au détail
Peinture en aérosol
La peinture en aérosol peut créer une surface lisse et uniforme lorsqu'elle est appliquée correctement. Elle est souvent utilisée pour les produits qui nécessitent une couverture complète des couleurs ou une finition plus homogène sur des lots plus importants.
La peinture au pistolet convient pour :
- Panneaux en bois de couleur unie
- Afficher les accessoires
- Plaques décoratives
- Accessoires en bois peint
- Collections de produits saisonniers
Cependant, la peinture au pistolet nécessite un bon contrôle de la production. L'environnement de travail, l'espace de séchage, la distance de pulvérisation, l'épaisseur de la peinture et la ventilation ont tous une incidence sur le résultat final. Pour les commandes en gros, ce processus est généralement mieux géré par un fabricant expérimenté plutôt que d'être peints à la main un par un.
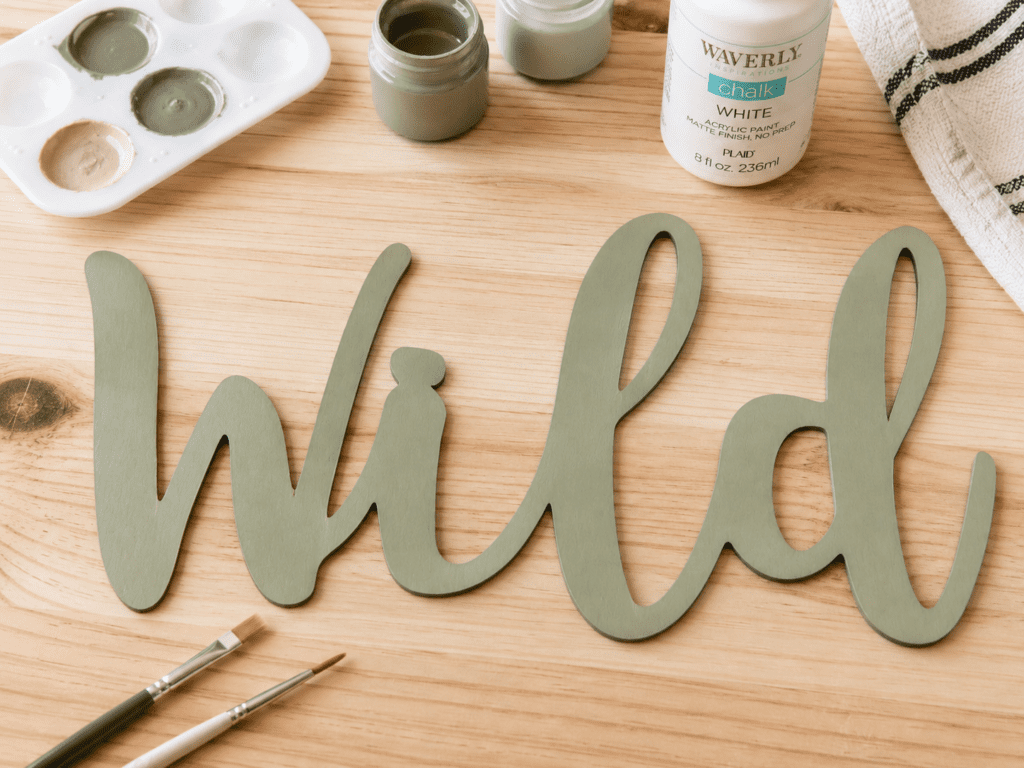
Peinture à la craie
La peinture à la craie crée un fini mat et doux. Elle est souvent utilisée pour les produits de style vintage, fermier, rustique ou fait à la main.
Il fonctionne bien pour :
- Panneaux de décoration
- Plaques décoratives en bois
- Décorations de mariage
- Décoration murale rustique
- Produits cadeaux
La peinture à la craie n'est pas toujours l'option la plus durable en soi, c'est pourquoi un revêtement protecteur est généralement recommandé si le produit doit être manipulé fréquemment.
Produits artisanaux en bois apparentés
Vous recherchez des produits en bois personnalisés pour des projets d'emballage de gros, de détail ou de marque ? Découvrez nos solutions d'artisanat en bois OEM ci-dessous.
Voir les produits de décoration en bois sur mesure →Outils et matériaux nécessaires avant de peindre du bois
Avant de peindre des objets en bois, il est important de préparer correctement la surface. Une bonne finition de la peinture dépend généralement plus de la préparation que de la peinture elle-même.
Voici les outils et matériaux de base couramment utilisés :
| Outil ou matériau | Objectif |
|---|---|
| Papier de verre | Lisse la surface et élimine les aspérités |
| Chiffon doux | Nettoie la poussière après le ponçage |
| L'abécédaire | Favorise l'adhérence de la peinture et améliore la couverture des couleurs |
| Pinceau | Applique la peinture sur des surfaces planes ou détaillées |
| Brosse éponge | Permet d'obtenir une couverture plus lisse sur les grandes surfaces |
| Peinture acrylique ou teinture pour bois | Ajoute de la couleur ou rehausse le grain naturel du bois |
| Ruban adhésif pour peintre | Protège les zones qui ne doivent pas être peintes |
| Scellant ou vernis transparent | Protège la surface finie |
| Support de séchage | Permet d'organiser les produits pendant le séchage |
| Gants et masque | Contribue à maintenir un processus de travail plus propre et plus sûr |
Pour les petits projets de bricolage, ces outils suffisent généralement.
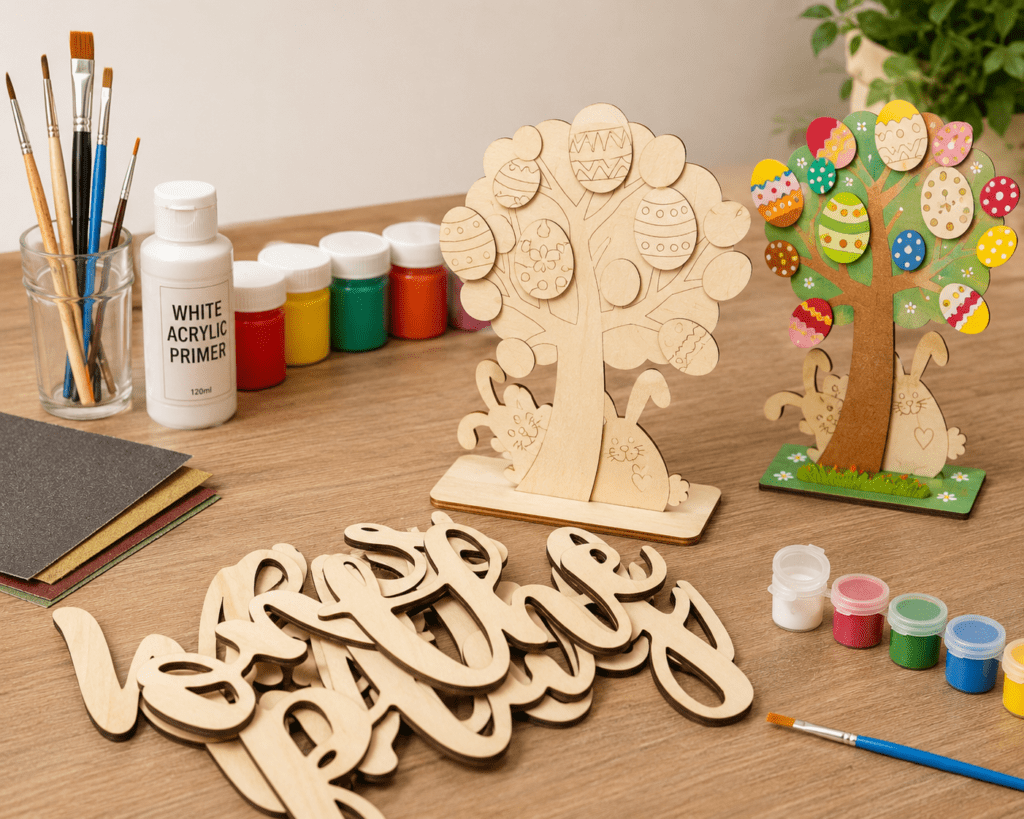
Guide étape par étape : Comment peindre des objets en bois
Le processus de base de la peinture sur bois n'est pas compliqué, mais chaque étape influe sur le résultat final. Sauter la préparation ou appliquer la peinture trop rapidement peut entraîner des couleurs inégales, des marques de pinceau visibles, une mauvaise adhérence ou une finition moins professionnelle.
Étape 1 : Choisir le bon produit en bois
Commencez par choisir un produit en bois adapté à la peinture. Les différents matériaux en bois absorbent différemment la peinture.
Les matériaux en bois couramment utilisés pour l'artisanat en bois sont les suivants :
- Contreplaqué
- MDF
- Bois de tilleul
- Bambou
- Bois massif
- Matériaux de placage en bois
Le contreplaqué et le MDF sont couramment utilisés pour l'artisanat en bois découpé au laser parce qu'ils sont stables, rentables et adaptés à de nombreux produits décoratifs. Le bois massif peut présenter un grain et une texture plus naturels, mais il peut aussi se comporter différemment en fonction de sa densité et de son taux d'humidité.
Si vous travaillez avec des objets en bois découpés au laser, vérifiez les bords avant de peindre. Certains bords peuvent présenter un léger assombrissement dû à la découpe au laser. Cet aspect peut être laissé tel quel ou légèrement poncé en fonction du style final.
Étape 2 : Poncer la surface du bois
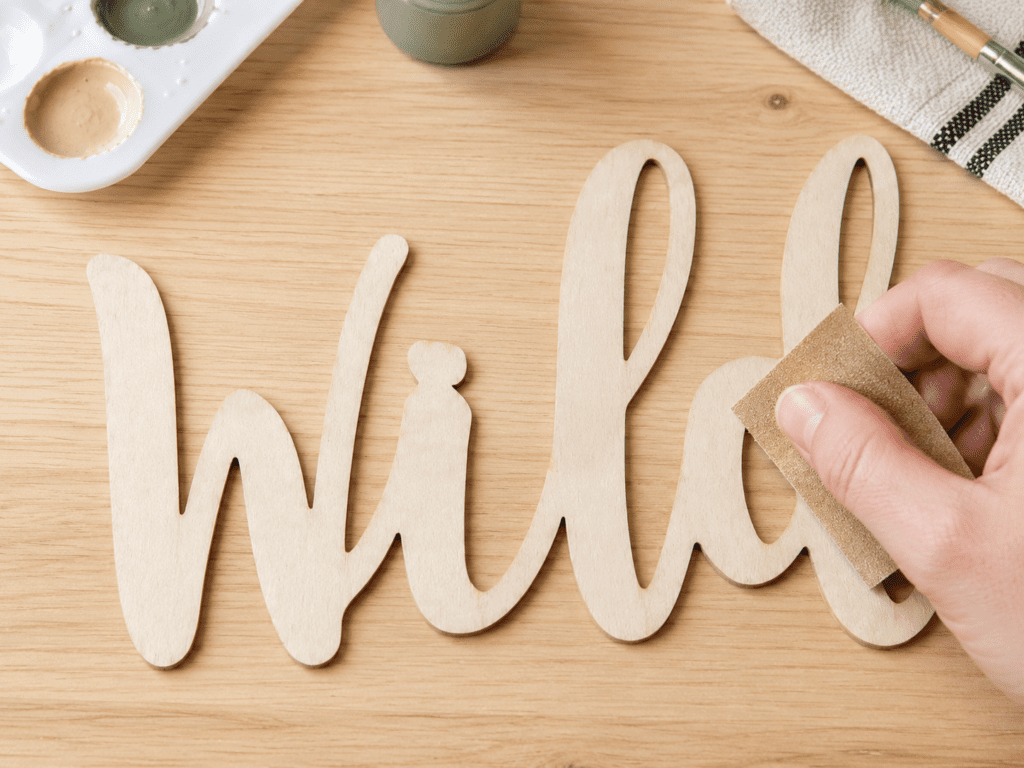
Le ponçage est l'une des étapes les plus importantes avant la peinture. Même si le produit en bois semble lisse, la surface peut encore présenter de petites fibres, de la poussière ou des aspérités.
Utilisez du papier de verre fin pour lisser délicatement la surface. Pour la plupart des objets en bois, un léger ponçage suffit. L'objectif n'est pas de modifier la forme du produit, mais de créer une surface propre et uniforme pour la peinture.
Après le ponçage, essuyez la poussière avec un chiffon doux et sec. Ne peignez pas directement sur la poussière, car cela pourrait créer des bosses ou des zones irrégulières dans la finition.
Étape 3 : Appliquer une couche de fond si nécessaire
L'apprêt permet à la peinture de mieux adhérer à la surface du bois. Il est particulièrement utile lorsque l'on utilise des couleurs claires, que l'on peint du MDF ou que l'on travaille avec du bois qui absorbe la peinture de manière inégale.
Un apprêt peut aider :
- Réduire l'absorption inégale
- Améliorer la couverture de la peinture
- Les couleurs claires ont l'air plus nettes
- Créer une base plus lisse
- Réduire le nombre de couches de peinture nécessaires
Si vous souhaitez que les veines naturelles du bois restent visibles, n'utilisez pas d'apprêt couvrant. Dans ce cas, une lasure, une huile ou une finition transparente peut être un meilleur choix.
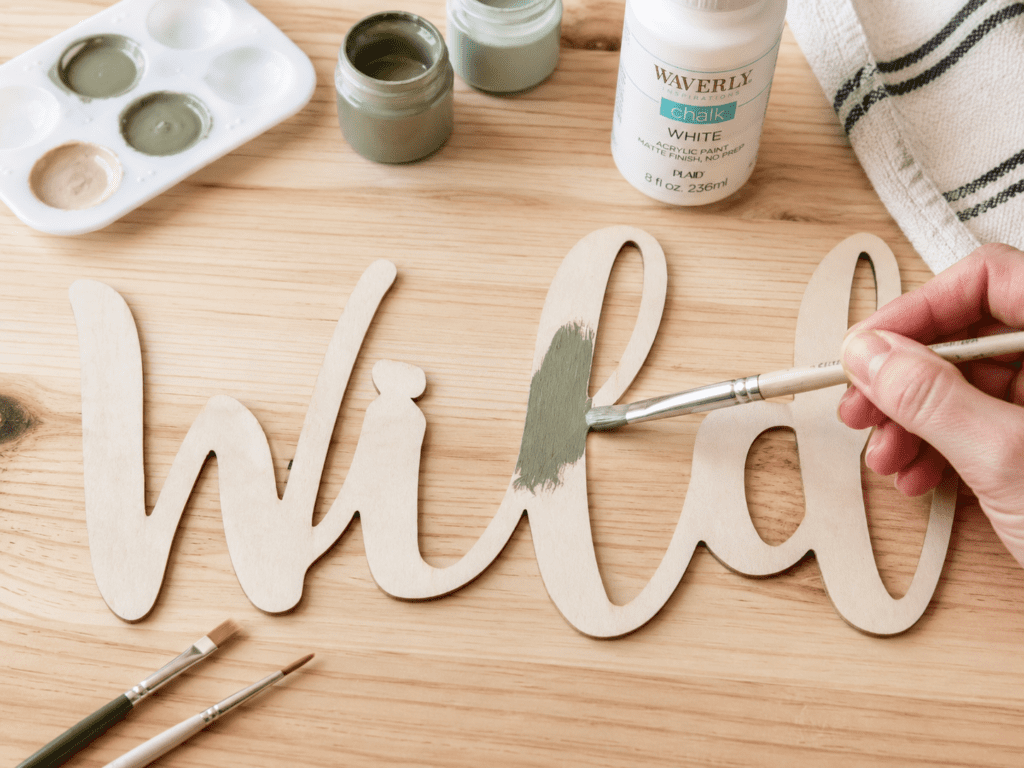
Étape 4 : Appliquer la première couche de peinture
Lors de l'application de la première couche, il convient d'appliquer une couche fine et régulière. Évitez d'appliquer trop de peinture à la fois. Une peinture épaisse peut sembler inégale, prendre plus de temps à sécher et laisser des traces de pinceau visibles.
Pour de meilleurs résultats :
- Peindre dans le sens des veines du bois lorsque c'est possible
- Utiliser un petit pinceau pour les zones détaillées
- Utiliser une brosse éponge pour les grandes surfaces planes
- Veiller à ce que la couche soit fine et régulière
- Évitez de brosser plusieurs fois la même zone avant qu'elle ne sèche.
La première couche peut ne pas être parfaite. C'est normal. Une deuxième couche améliore généralement la profondeur et la couverture de la couleur.
Étape 5 : Laisser la peinture sécher complètement
Le temps de séchage dépend du type de peinture, du matériau du bois, de l'humidité, de la température ambiante et de l'épaisseur de la couche de peinture.
Ne précipitez pas cette étape. Si la première couche n'est pas complètement sèche, la deuxième couche risque d'arracher la peinture sous-jacente ou de créer une surface irrégulière.
Étape 6 : Ajouter une deuxième couche ou des détails décoratifs
Une fois la première couche sèche, appliquez une deuxième couche fine si nécessaire. Cela permet à la couleur de paraître plus solide et plus professionnelle.
Étape 7 : Sceller l'objet en bois peint
Après le séchage complet de la peinture, l'application d'un vernis transparent permet de protéger la surface et de rendre le produit plus durable.
Les options de finition les plus courantes sont les suivantes :
- Finition mate
- Finition semi-mate
- Finition brillante
- Vernis transparent
- Revêtement protecteur
- Scellant à base d'eau
Une finition mate est souvent utilisée pour les produits de décoration intérieure douce ou les produits de type "nursery". Une finition brillante peut être utilisée lorsqu'un aspect plus brillant et plus soigné est nécessaire. Pour les produits de vente au détail ou les cadeaux, un revêtement protecteur peut aider à réduire les rayures et à améliorer l'expérience du client lorsqu'il manipule le produit.
Erreurs courantes à éviter lors de la peinture d'objets en bois
Même les projets simples d'artisanat en bois peuvent échouer si la surface n'est pas préparée correctement. Voici quelques erreurs courantes à éviter.
Ne pas poncer le bois en premier
L'omission du ponçage peut entraîner une texture rugueuse, une mauvaise adhérence ou des fibres de bois visibles après la peinture. Même un léger ponçage peut faire une grande différence.
Application de peinture trop épaisse
Une couche de peinture épaisse n'est pas toujours synonyme de meilleure couverture. Elle peut entraîner des coulures, des marques de pinceau, un séchage lent ou une finition inégale.
Peinture sur la poussière
La poussière peut facilement s'incruster sous la peinture et créer de petites bosses. Nettoyez toujours le bois après le ponçage.
Oublier l'apprêt pour les couleurs claires
Le blanc, le crème, le beige, le pastel et d'autres couleurs claires peuvent paraître inégales sans apprêt, en particulier sur les surfaces de bois poreuses.
Temps de séchage insuffisant
Si la peinture n'est pas complètement sèche avant la couche suivante, la surface peut devenir collante ou inégale.
Oublier le revêtement protecteur
Pour les produits qui seront touchés, emballés, expédiés ou exposés dans des environnements de vente au détail, un revêtement protecteur transparent peut améliorer la durabilité.
Utilisation d'une finition inadaptée au produit
Un panneau mural pour une chambre d'enfant, un présentoir pour un commerce de détail, une décoration de mariage et un ornement de fête peuvent tous nécessiter des finitions différentes. Il est important de choisir la finition en fonction de l'utilisation finale.
Les meilleures finitions pour différents produits artisanaux en bois
Tous les objets en bois n'ont pas besoin de la même finition. Le meilleur choix dépend de l'endroit et de la manière dont le produit sera utilisé.
| Produit artisanal en bois | Finition recommandée | Pourquoi ça marche |
|---|---|---|
| Enseignes murales en bois | Peinture acrylique, teinture, vernis transparent | Décoratif, léger, adapté à la décoration intérieure |
| Décoration en bois de la chambre d'enfant | Couleurs douces, peinture non toxique, finition mate | Aspect doux pour les produits de type maternel |
| Présentoirs en bois | Teinture, vernis, impression de logo | Aspect professionnel pour la vente au détail et l'affichage de la marque |
| Ornements de Noël | Peinture acrylique, impression UV, détails pailletés | Colorée et adaptée aux collections saisonnières |
| Etiquettes cadeaux en bois | Gravure laser, peinture, impression | Idéal pour la décoration de marques et d'emballages |
| Décorations de mariage | Peinture blanche, teinture naturelle, revêtement mat | Élégant et adapté au décor d'un événement |
| Plateaux en bois | Teinture, vernis, revêtement protecteur | Meilleure durabilité et aspect naturel du bois |
| Plaques en bois | Peinture, gravure, impression UV | Flexible pour les citations, les logos et les motifs décoratifs |
Par exemple, les panneaux muraux en bois sont souvent bien mis en valeur par une teinture naturelle ou des couleurs peintes douces, tandis que les présentoirs en bois nécessitent généralement une finition plus durable car ils peuvent être utilisés à plusieurs reprises dans des magasins, des expositions ou des photographies de produits.
FAQ sur la peinture d'objets en bois
Quelle peinture convient le mieux aux objets en bois ?
La peinture acrylique est l'une des peintures les plus couramment utilisées pour les objets en bois, car elle est facile à appliquer, sèche relativement vite et se décline en de nombreuses couleurs. Pour un aspect plus naturel, la lasure est un meilleur choix car elle permet de conserver les veines du bois.
Faut-il poncer le bois avant de le peindre ?
Oui. Le ponçage permet de lisser la surface du bois, d'éliminer les aspérités et d'améliorer l'adhérence de la peinture. Même un léger ponçage peut donner un aspect plus propre à la finition finale.
Dois-je utiliser un apprêt avant de peindre des objets en bois ?
Il est recommandé d'utiliser un apprêt lorsque l'on utilise des couleurs claires ou que l'on peint des matériaux en bois poreux tels que le MDF ou le contreplaqué. Il permet d'améliorer la couverture et de donner à la couleur un aspect plus uniforme.
Comment protéger les objets en bois peints ?
Après séchage complet de la peinture, appliquez un scellant, un vernis ou un revêtement protecteur transparent. Cela permet de protéger la surface des rayures, des taches et de l'humidité.
Conclusion
La peinture d'objets artisanaux en bois est un moyen pratique d'améliorer l'apparence, d'ajouter de la valeur et de créer des produits adaptés à différents marchés et styles. Le processus de base consiste à choisir le bon produit en bois, à poncer la surface, à appliquer un apprêt si nécessaire, à peindre en couches fines, à laisser un temps de séchage suffisant, à ajouter des détails et à sceller la surface finale.