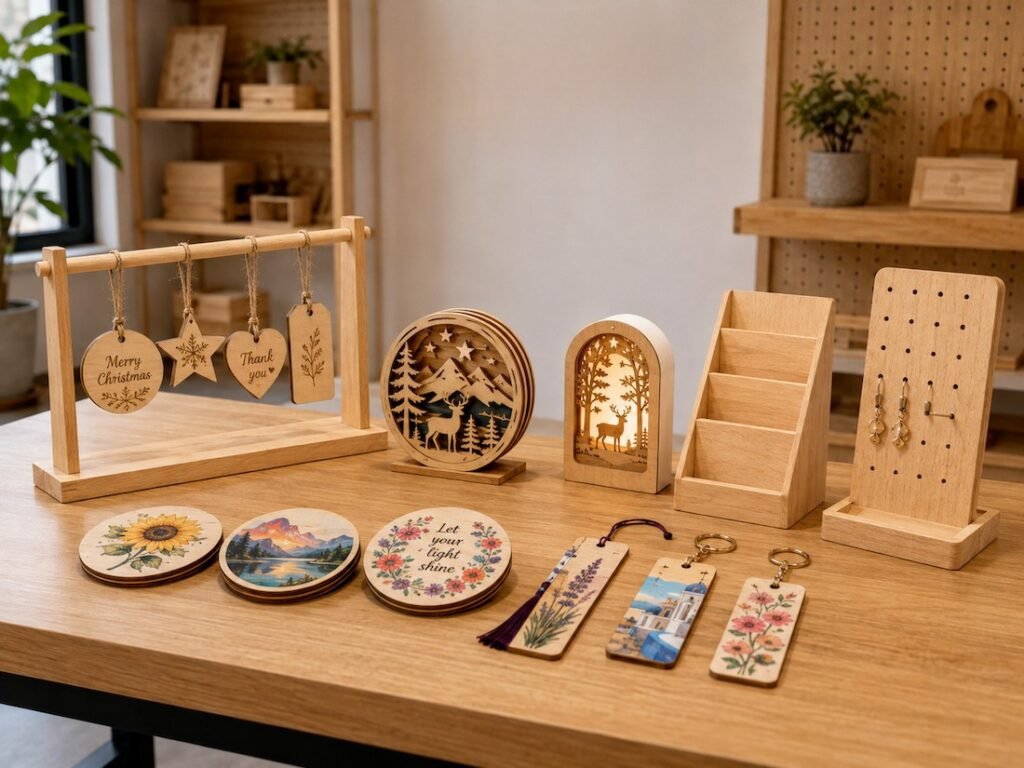
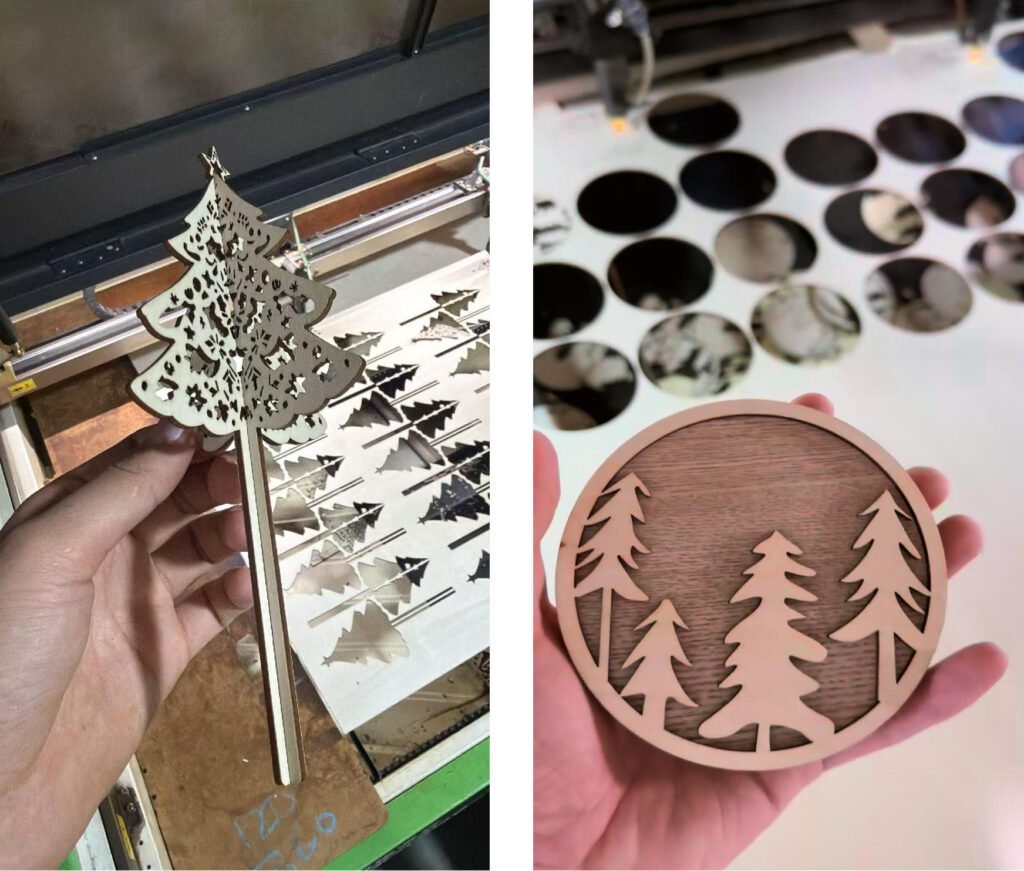
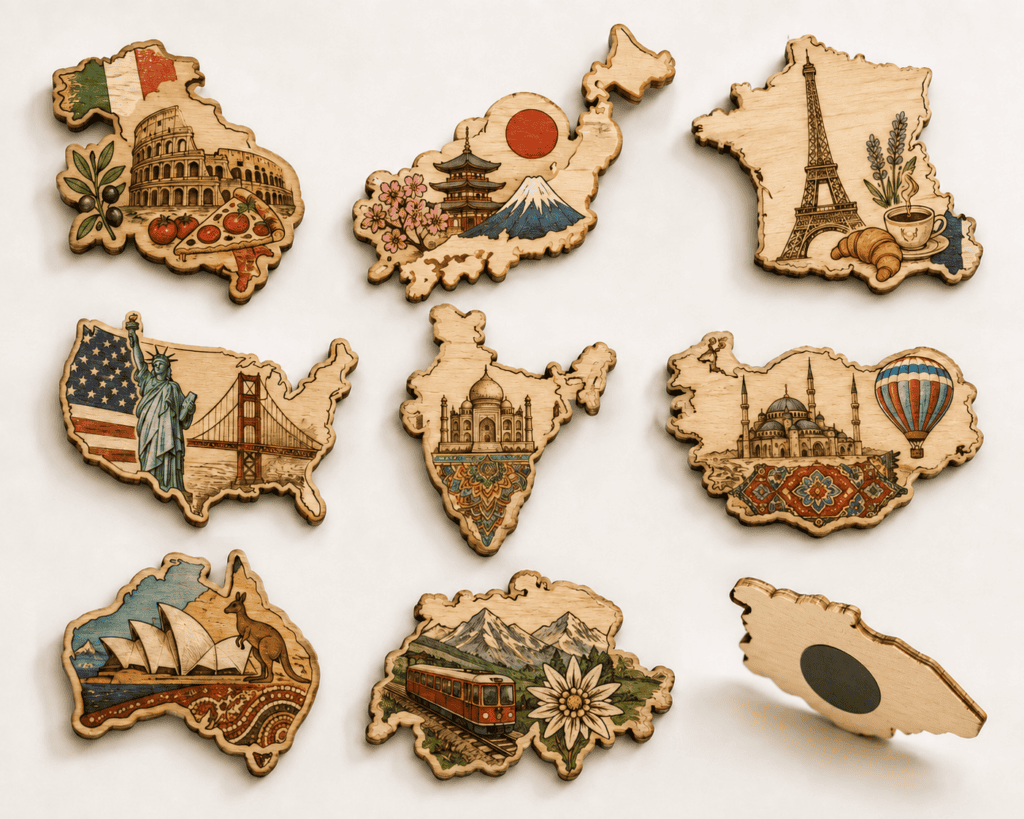
For most custom wooden craft projects, going directly from a design file to mass production is rarely a good idea. A physical sample allows both the buyer and manufacturer to check the actual material, size, colour, engraving, printing and overall structure before producing hundreds or thousands of pieces.
For brands, wholesalers and retailers, sampling is not simply an extra step. It is one of the most practical ways to reduce production mistakes and avoid costly changes after bulk production has started.
So, how much does a custom wooden craft sample cost? How long does it take, and what happens during the development process?
This guide explains the key steps.
Why Sample Development Matters Before Bulk Production
A design may look perfect on a computer screen but behave differently when produced in wood.
Thin sections may break during laser cutting. Small engraved text may not be clear enough. Printed colours may look different on plywood and MDF. Slots may need adjustment to fit correctly, and layered parts may require changes for easier assembly.
A physical sample helps identify these issues before mass production.
It also gives buyers an opportunity to confirm the overall appearance, dimensions, material thickness, surface finish, packaging and functionality.
For a simple flat wooden ornament, sampling may be straightforward. For a multi-layer product, display stand, wooden box or product with moving parts, several adjustments may be necessary before final approval.
What Information Is Needed Before Sampling?
The more complete the initial information is, the faster the sample development process usually becomes.
Buyers should ideally provide:
- Product dimensions
- Material preference
- Required thickness
- Design file or reference image
- Logo or artwork files
- Colour requirements
- Printing or engraving details
- Expected order quantity
- Packaging requirements
- Target market or application
Vector files such as AI, PDF, SVG or DXF are particularly useful for laser cutting and engraving projects.
If a finished production file is not available, a clear sketch, photo or reference product can still be used as a starting point. However, additional design preparation may increase development time and cost.
OEM & ODM Services
Ready to turn your ideas into finished wooden products? Discover our complete OEM and ODM service, from design review and sample development to mass production, quality control, and worldwide delivery.
OEM and ODM Wooden Craft Service →The Custom Wooden Craft Sample Development Process
Step 1: Review the Design and Requirements
The first step is to review whether the design is suitable for actual production.
The manufacturer may check dimensions, thin sections, cut lines, engraving areas, assembly methods and material usage. At this stage, potential manufacturing problems should be identified before material is cut.
For example, very narrow wooden connections may need to be widened to reduce breakage during production or transportation.
Step 2: Confirm Materials and Production Methods
Different materials can produce very different results.
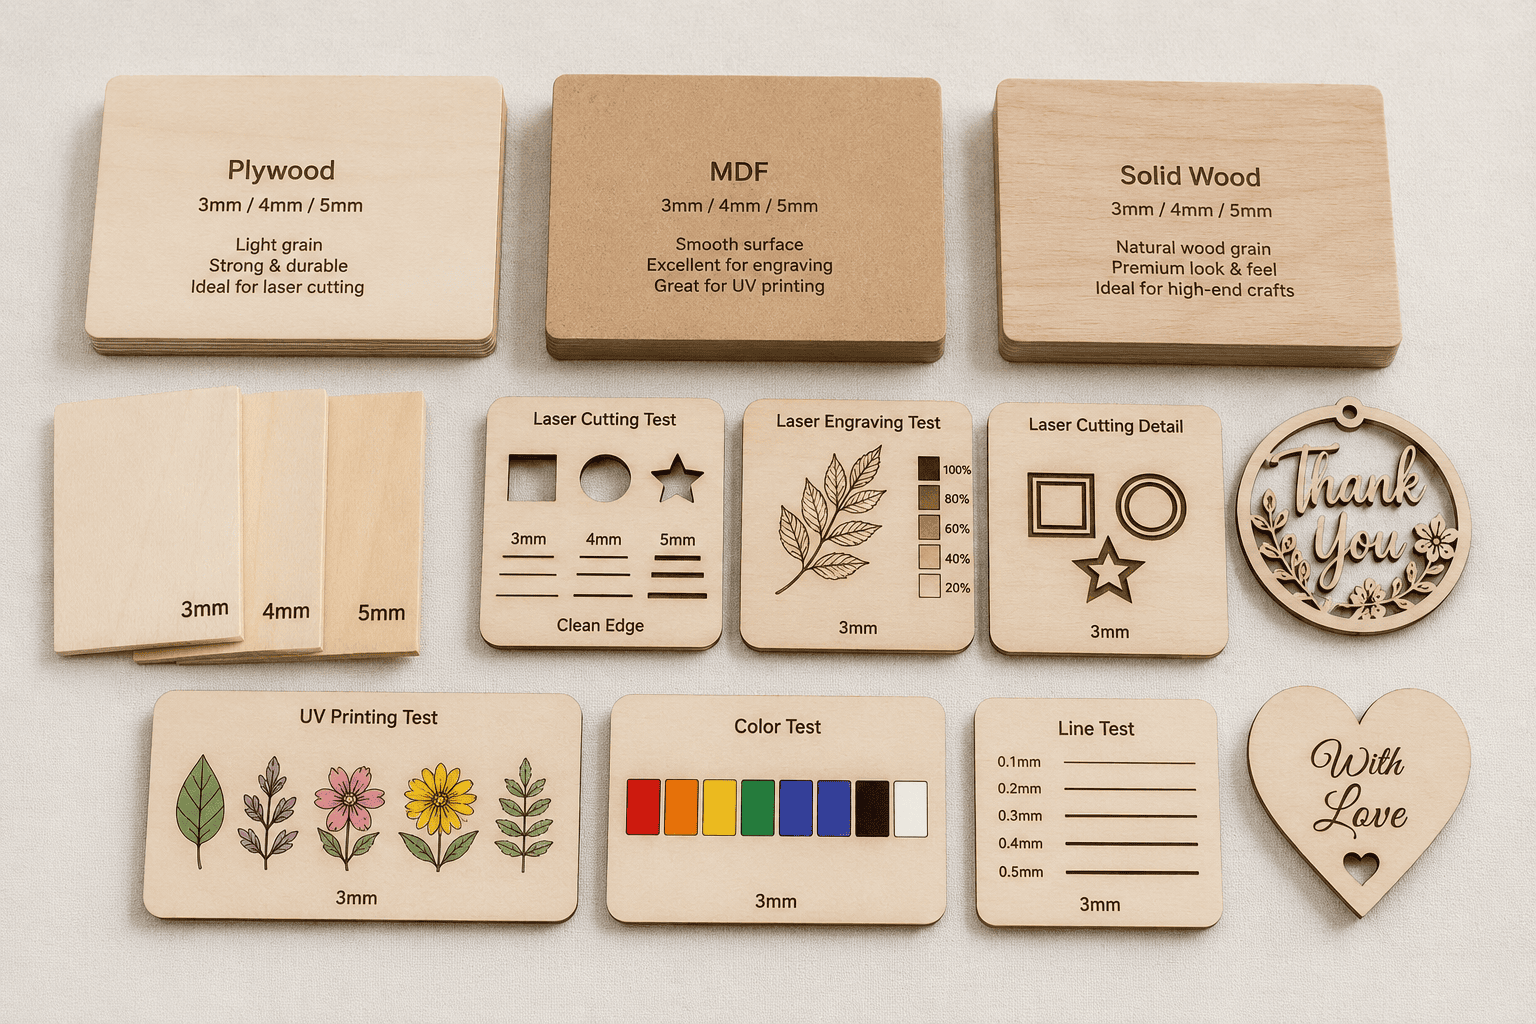
Plywood is often selected for visible natural grain, while MDF provides a smoother and more uniform surface for painting and UV printing. Solid wood, bamboo and acrylic may also be used depending on the product.
The production method must also be confirmed. This may include laser cutting, engraving, UV printing, painting, staining, sanding, CNC machining or multi-layer assembly.
Related Articles
If you’re still deciding between plywood and MDF, you may also find this guide helpful.
Plywood vs MDF for Laser Cut Wooden Crafts →Step 3: Prepare Artwork and Production Files
Before production, the design needs to be converted into a suitable manufacturing file.
Cutting lines, engraving areas and printing graphics should be clearly separated. Dimensions and tolerances may also need adjustment according to the material and product structure.
For products with slots or interlocking parts, even a small dimensional difference can affect assembly.
This stage is especially important for display stands, boxes, layered decorations and products with several connected components.
Step 4: Produce the First Sample
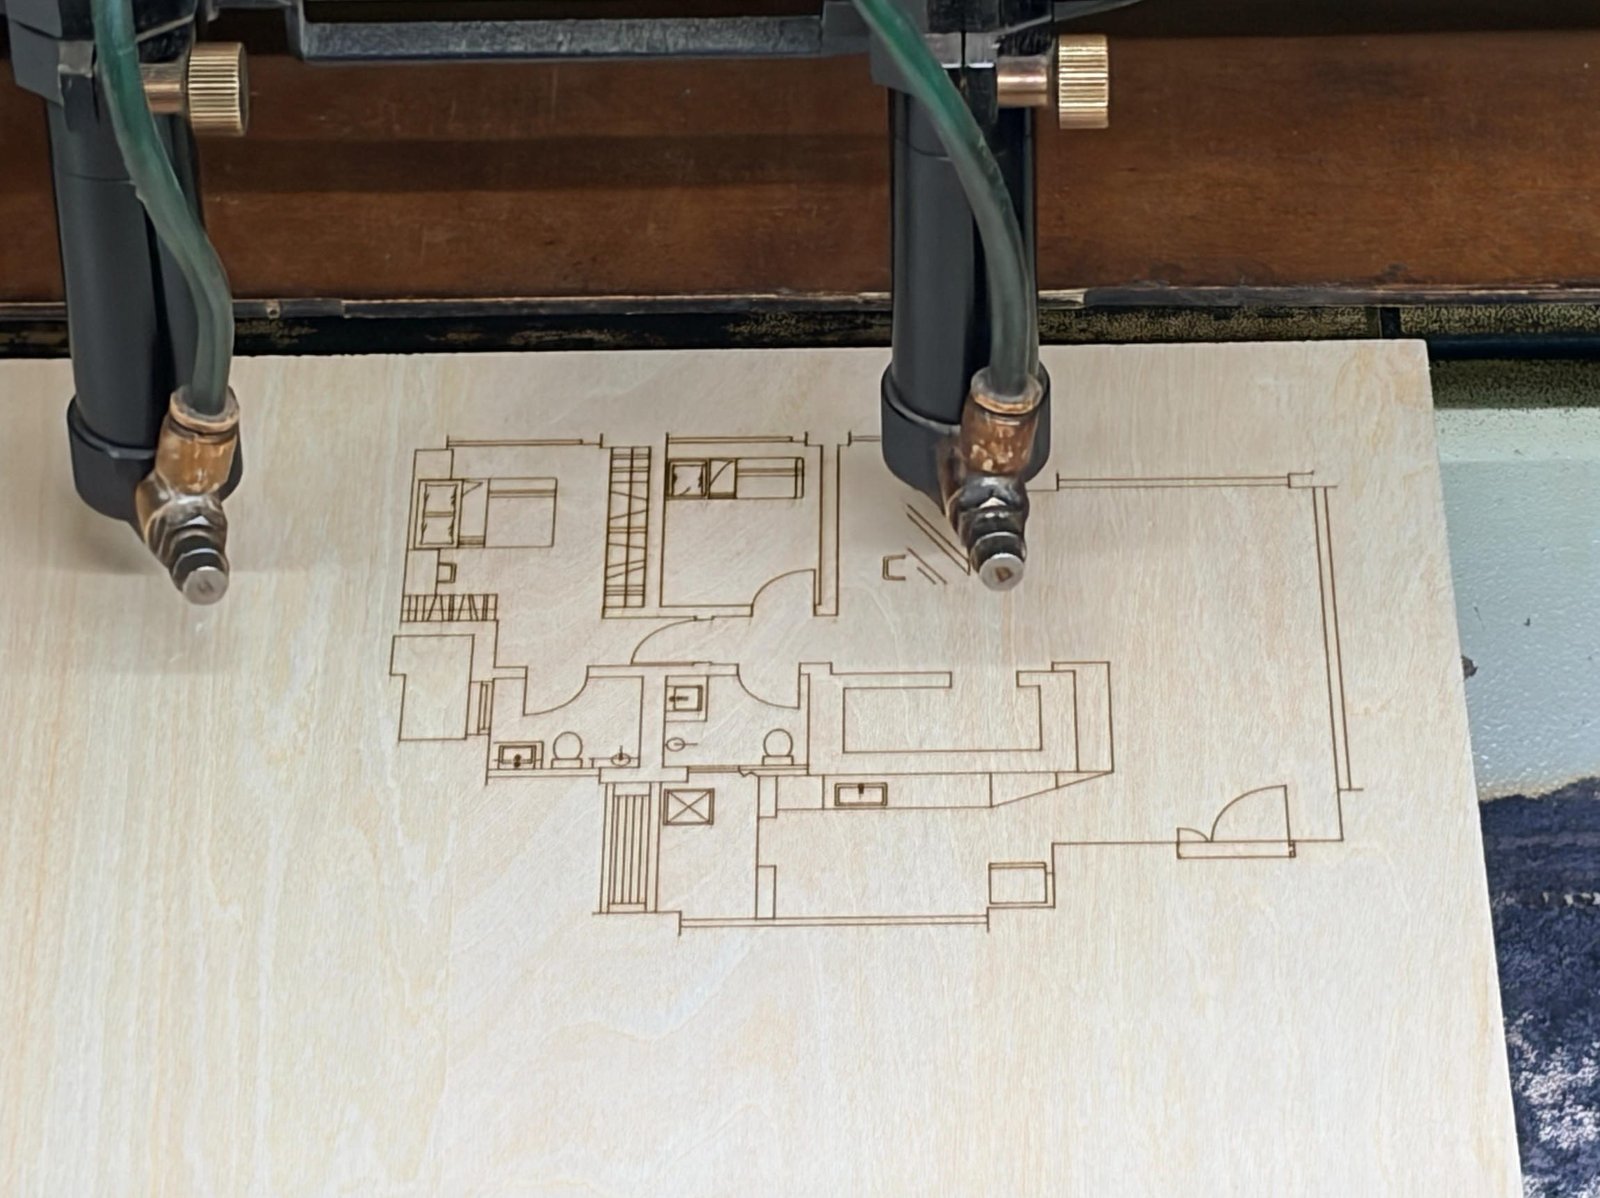
Once the design and material are confirmed, the first physical sample can be produced.
Depending on the product, production may involve several processes, such as:
- Laser cutting
- Laser engraving
- UV printing
- Sanding
- Painting or staining
- Gluing
- Assembly
- Packaging testing
Simple flat laser-cut products can usually be sampled relatively quickly. More complex products require additional processing and drying or assembly time.
Step 5: Review and Revise
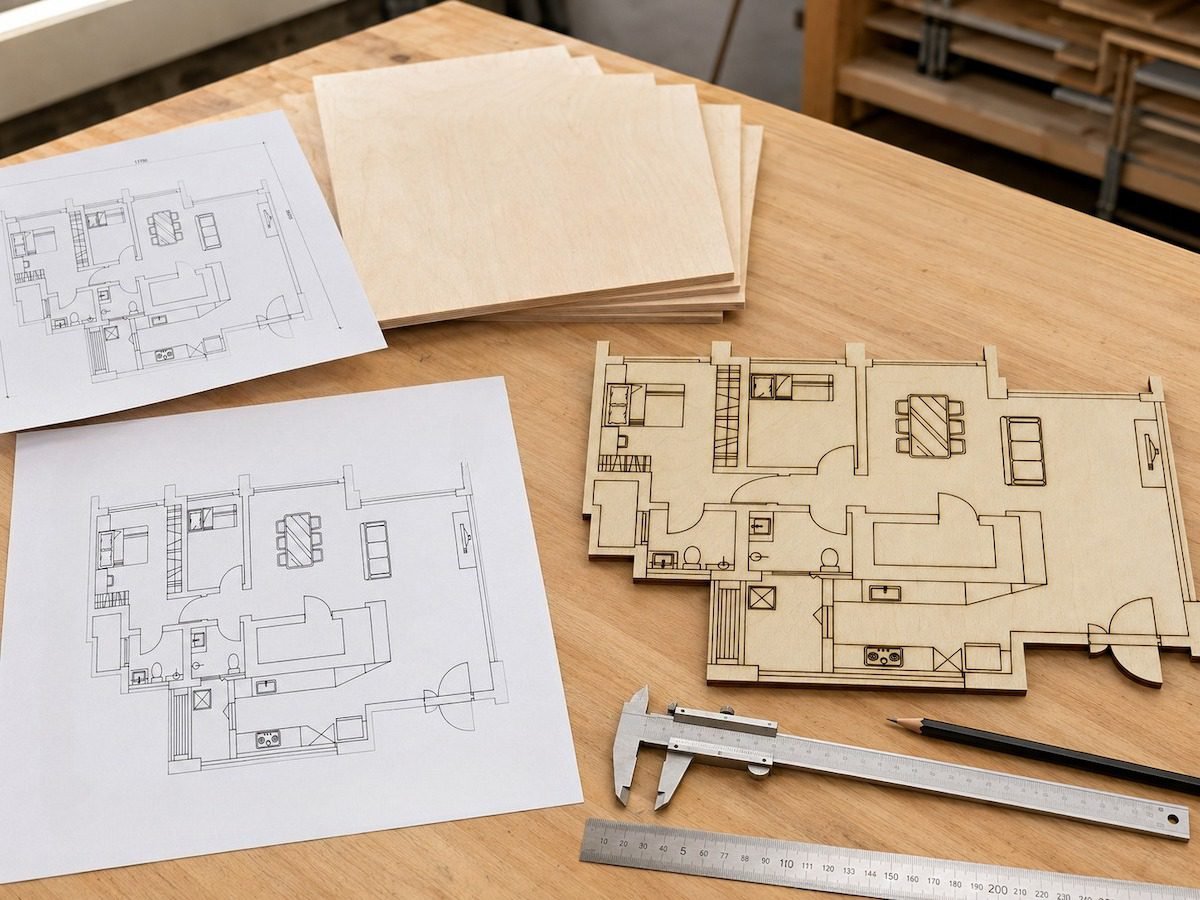
After the first sample is completed, the buyer should check it carefully.
Important points include:
- Overall dimensions
- Material and thickness
- Colour
- Wood grain
- Cutting edge quality
- Engraving depth
- Printing position
- Structural stability
- Assembly
- Packaging
Not every sample requires revision. However, if changes are needed, they should be clearly marked using photos, drawings or annotated files.
Specific feedback such as “move the logo 5 mm lower” is much easier to implement than general feedback such as “the logo does not look right.”
Step 6: Approve the Final Sample for Mass Production
Once all details are confirmed, the final sample becomes the reference standard for bulk production.
The approved specifications should include dimensions, material, thickness, colour, artwork, printing position, packaging and any special requirements.
For more complex projects, keeping a signed or clearly documented approval sample can help both buyer and manufacturer maintain consistent quality during mass production.
How Much Does a Custom Wooden Craft Sample Cost?
There is no fixed sample price for all wooden products. The cost depends on the design and manufacturing requirements.
The main factors include:
- Material type and thickness
- Product dimensions
- Design complexity
- Number of components
- Laser cutting or engraving time
- Printing requirements
- Painting or staining
- Assembly work
- Custom packaging
- Number of sample versions
A simple laser-cut wooden shape usually costs less to develop than a multi-layer display stand, painted wooden box or complex assembled product.
Some manufacturers may refund or deduct part of the sample fee after a bulk order reaches an agreed quantity. Buyers should confirm this policy before sampling.
How Long Does Sample Development Take?
For many simple laser-cut wooden products, a first sample may take approximately 3–7 working days after the design and material are confirmed.
More complex products may require 7–15 working days or longer, especially when the project involves custom structures, multiple materials, painting, special printing or several rounds of revision.
The total timeline also depends on how quickly the buyer provides feedback.
If the design changes repeatedly after each sample, the development period can become much longer. Clear specifications and consolidated feedback are usually the most effective ways to shorten the process.
Common Reasons Why Samples Need Revision
Sample revisions are normal in custom manufacturing. Common reasons include:
- Dimensions do not match the actual application
- Material thickness needs adjustment
- Thin sections are too fragile
- Slots are too tight or too loose
- Engraving is too light or too deep
- Printed colours need adjustment
- Logo position needs changing
- The structure is not stable enough
- Packaging does not provide enough protection
The goal of revision is not to make endless small changes. It is to solve problems that could affect appearance, function, production consistency or transportation.
How Buyers Can Speed Up Sample Development
Buyers can significantly improve sampling efficiency by preparing clear information from the beginning.
Provide accurate dimensions rather than approximate sizes. Send editable artwork whenever possible. Specify colour references, materials and packaging requirements before production begins.
It is also better to collect all feedback and send it in one clear revision document instead of sending several separate messages over several days.
For products that must fit another item, such as display stands, holders or packaging inserts, providing the actual product dimensions—or a physical sample when necessary—can prevent repeated adjustments.
From Approved Sample to Bulk Production
After sample approval, the manufacturer can prepare for mass production.
Before production starts, both sides should confirm:
- Final quantity
- Approved specifications
- Unit price
- Production lead time
- Packaging method
- Quality requirements
- Shipping marks
- Delivery terms
The approved sample should remain the main visual and technical reference during production and final inspection.
For repeat orders, keeping the original design files, material specifications and approved sample information can also reduce development time.
Start Your Custom Wooden Craft Project
Jinling Craft provides sample development and OEM/ODM manufacturing for custom wooden decorations, display stands, wall signs, ornaments, gift products and other laser-cut wooden crafts.
Our production capabilities include laser cutting, engraving, UV printing, painting, sanding, assembly and custom packaging.
If you have a design, sketch, reference image or existing sample, send us the product dimensions, estimated quantity, material preference and customization requirements. We can review the project and provide feedback on sampling, production feasibility and quotation.
Related Articles
Looking for a trustworthy OEM wooden crafts manufacturer? This guide explains how to evaluate suppliers based on production capabilities, quality control, customization experience, and export services.
How to Choose a Custom Wooden Crafts Manufacturer in China →