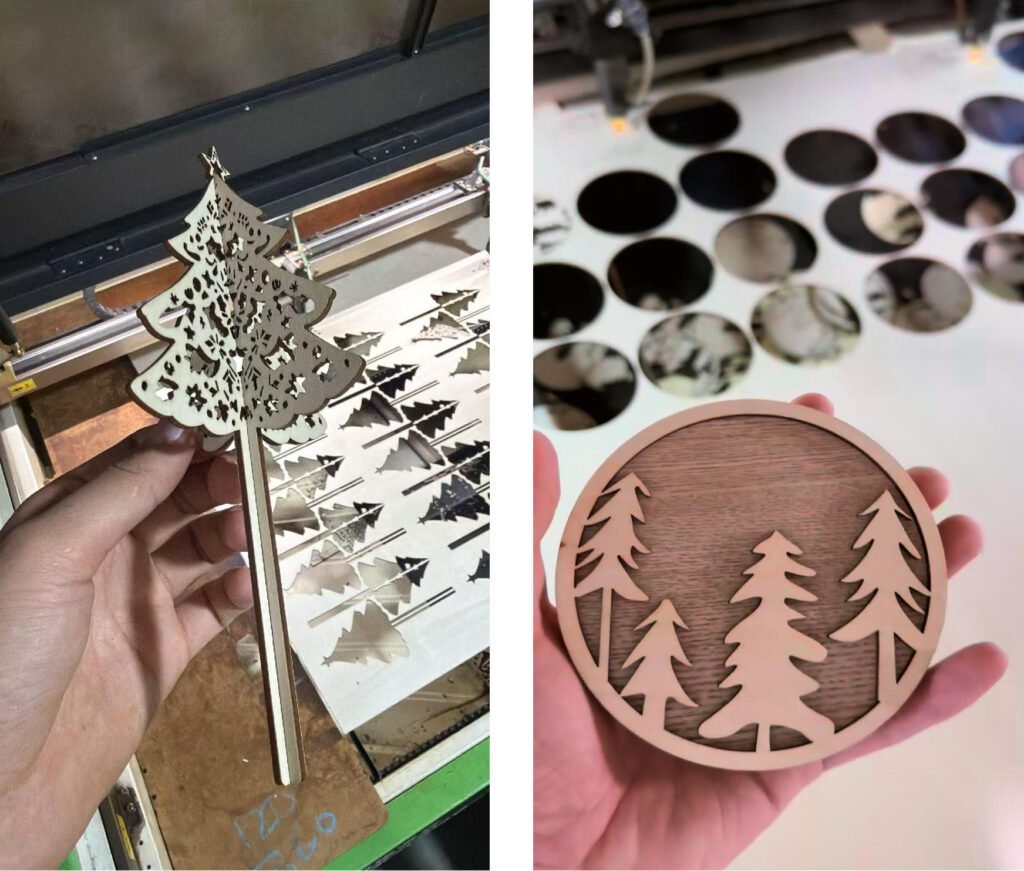
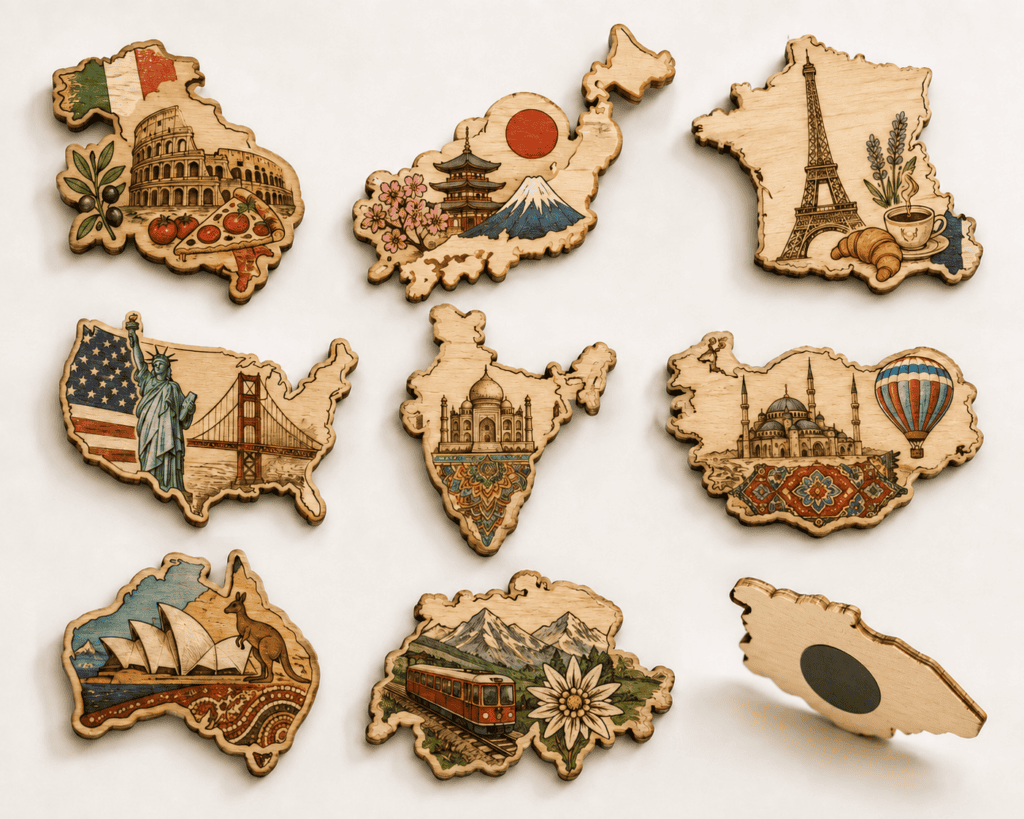
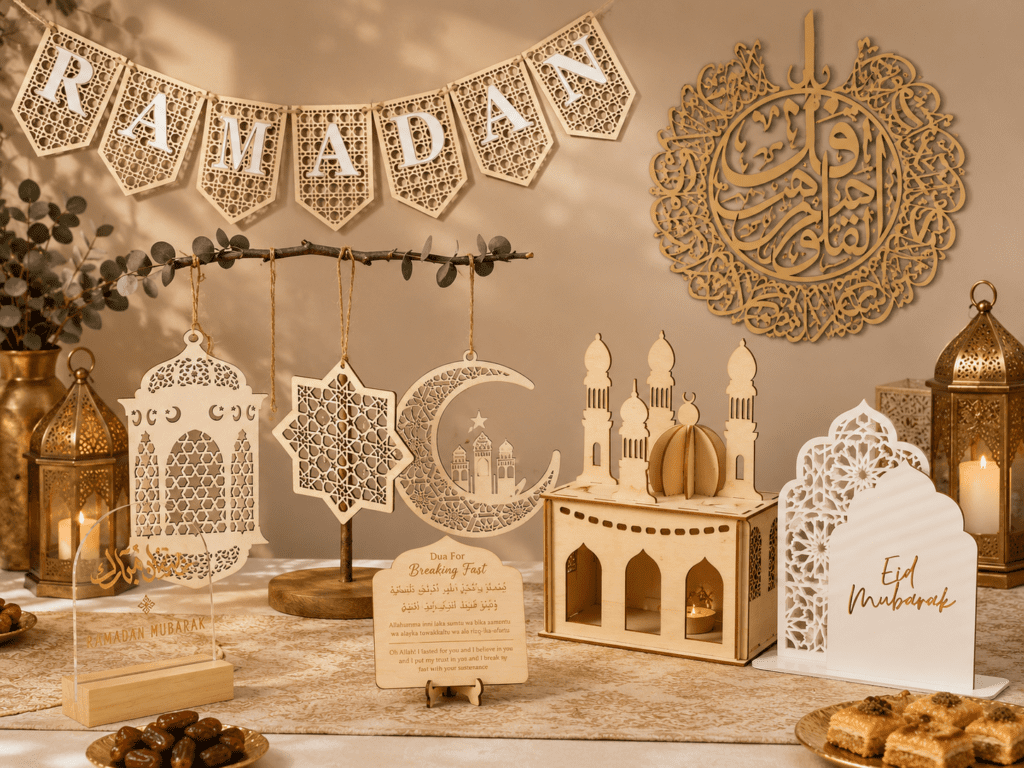
A good laser-cut product starts long before the material reaches the machine. It starts with a clear production file.
For custom wooden crafts, incomplete artwork is one of the most common reasons for delayed quotations, repeated sampling and incorrect production. A design may look fine on a screen but still be unsuitable for laser cutting because the lines are too thin, the scale is unclear or cutting and engraving areas are not separated.
If you are preparing files for an OEM wooden product, the following guidelines can make the process much smoother.
Why Artwork Preparation Matters
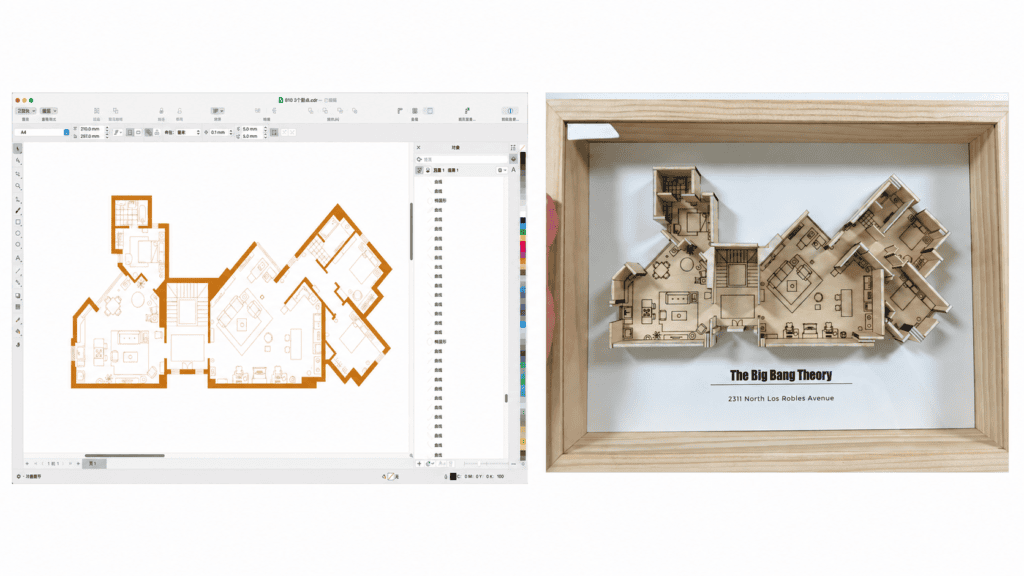
Laser cutting machines follow digital paths very accurately. That is helpful when the file is correct, but it also means that mistakes in the file can be reproduced just as accurately.
Typical problems include:
- Duplicate cutting lines
- Incorrect dimensions
- Missing fonts
- Very small details
- Open vector paths
- Unclear engraving areas
- Slots that do not fit the material thickness
A clean production file allows the manufacturer to review the design faster and prepare a more reliable sample.
Best File Formats for Laser Cutting
Vector formats are usually preferred for laser cutting and engraving.
Common formats include:
- AI
- SVG
- DXF
- EPS
- PDF with vector artwork
CAD drawings may also be suitable for products with precise dimensions and mechanical structures.
JPG and PNG files can be useful as visual references, but they are usually not ideal as final cutting files because they are pixel-based images rather than vector paths.
Related Articles
Every custom wooden craft begins with a sample. Understanding the development process, costs, and lead time helps ensure smoother production and fewer revisions.
Sample Development for Custom Wooden Crafts: Cost, Time, and Process →Use Vector Artwork Whenever Possible
Vector artwork is made from lines and curves instead of pixels.
This means the design can be resized without losing sharpness, and the laser machine can follow the cutting paths accurately.
For example, if you are producing a custom wooden ornament shaped like a building, the outside contour should ideally be supplied as a vector path rather than as a photograph.
If only a JPG or PNG is available, the manufacturer may need to redraw or trace the design before production.
This adds preparation time and may slightly change the original shape.
Separate Cutting, Engraving, and Printing Areas
One of the most useful things a buyer can do is clearly separate different production processes.
For example:
- Red line = laser cutting
- Black area = laser engraving
- Separate layer = UV printing
- Dashed line = reference only
The exact colour system is not important as long as it is clearly explained.
For more complicated products, different layers should be named clearly, such as:
CUT
ENGRAVE
PRINT
FOLD / REFERENCE
This makes it easier for the production team to understand the intended result.
Set the Correct Size and Scale
Always provide the actual finished dimensions.
Do not rely only on how large the object looks inside the design software.
Useful information may include:
- Overall width
- Overall height
- Material thickness
- Hole diameter
- Slot width
- Distance between holes
- Important internal dimensions
For precision products, dimensions should also be written directly on the drawing.
If the design is supplied at a reduced scale, clearly state the scale ratio.
Convert Fonts to Outlines
Fonts can cause problems when the manufacturer does not have the same typeface installed.
The safest method is to convert all text into outlines or curves before sending the final artwork.
This turns each letter into a vector shape and prevents font substitution.
Always check spelling before converting the text because it becomes more difficult to edit afterwards.
For personalized products, it may be better to provide both the outlined production file and an editable text list.
Avoid Lines and Details That Are Too Small
Wood has physical limitations.
A very fine line that looks attractive on screen may disappear during engraving, while a narrow wooden connection may break after cutting.
Small details should be reviewed according to:
- Material type
- Material thickness
- Product size
- Cutting direction
- Intended use
For example, a delicate 3 mm plywood ornament may require wider bridges between sections than a larger 6 mm display stand.
The manufacturer may recommend simplifying certain details before sampling.
Related Articles
If you’re still deciding between plywood and MDF, you may also find this guide helpful.
Plywood vs MDF for Laser Cut Wooden Crafts →Designing Slots, Holes, and Interlocking Parts
Products such as display stands, boxes and DIY kits often rely on slots and interlocking structures.
These dimensions should not automatically be set equal to the nominal material thickness.
For example, a board sold as 3 mm plywood may have a small thickness tolerance. The laser also removes a small amount of material during cutting, known as the kerf.
Because of this, slot dimensions may need to be adjusted after testing.
A physical sample is especially important for products that depend on tight-fitting joints.
Preparing Images for Laser Engraving
Logos, text and line drawings are generally easier to engrave than detailed photographs.
For bitmap images, use the highest quality original file available. Avoid screenshots, compressed social-media images or small web graphics.
Good contrast is important because engraving works by translating light and dark areas into different laser effects.
If the image contains many very subtle gradients, the final result may not look exactly like the screen image.
For logos, a vector file is usually the best choice.
Common Artwork Problems We See
Some artwork problems occur repeatedly in custom projects:
- Files contain only screenshots
- Dimensions are missing
- Text has not been converted to outlines
- Several cutting lines overlap
- Different processes are placed on one layer
- Holes are too close to the edge
- Small decorative sections are too fragile
- Slot sizes do not consider material tolerance
- Artwork is low resolution
- The front and back designs are not clearly identified
Most of these problems can be corrected before sampling if the file is reviewed carefully.
What to Send Your Manufacturer
For a custom laser-cut wooden product, a complete artwork package should ideally include:
- Vector artwork
- Finished dimensions
- Material and thickness
- Cutting and engraving instructions
- Colour reference if printing is required
- Front and back design
- Product reference image
- Quantity
- Packaging requirements
If you are not sure whether your file is production-ready, you can still send the available design first. A manufacturer can review the file and identify areas that need adjustment.
From Artwork Review to Sample Production
After the artwork is reviewed, the next step is usually material confirmation and sample production.
At Jinling Craft, we work with customer artwork for custom wooden decorations, display stands, medals, magnets, signs and other laser-cut wooden products.
Our production processes include laser cutting, engraving, UV printing, sanding, painting and assembly.
If you already have an AI, SVG, DXF, PDF or other design file, send it together with the product dimensions, material preference and estimated quantity. We can review the file and provide feedback before sampling.